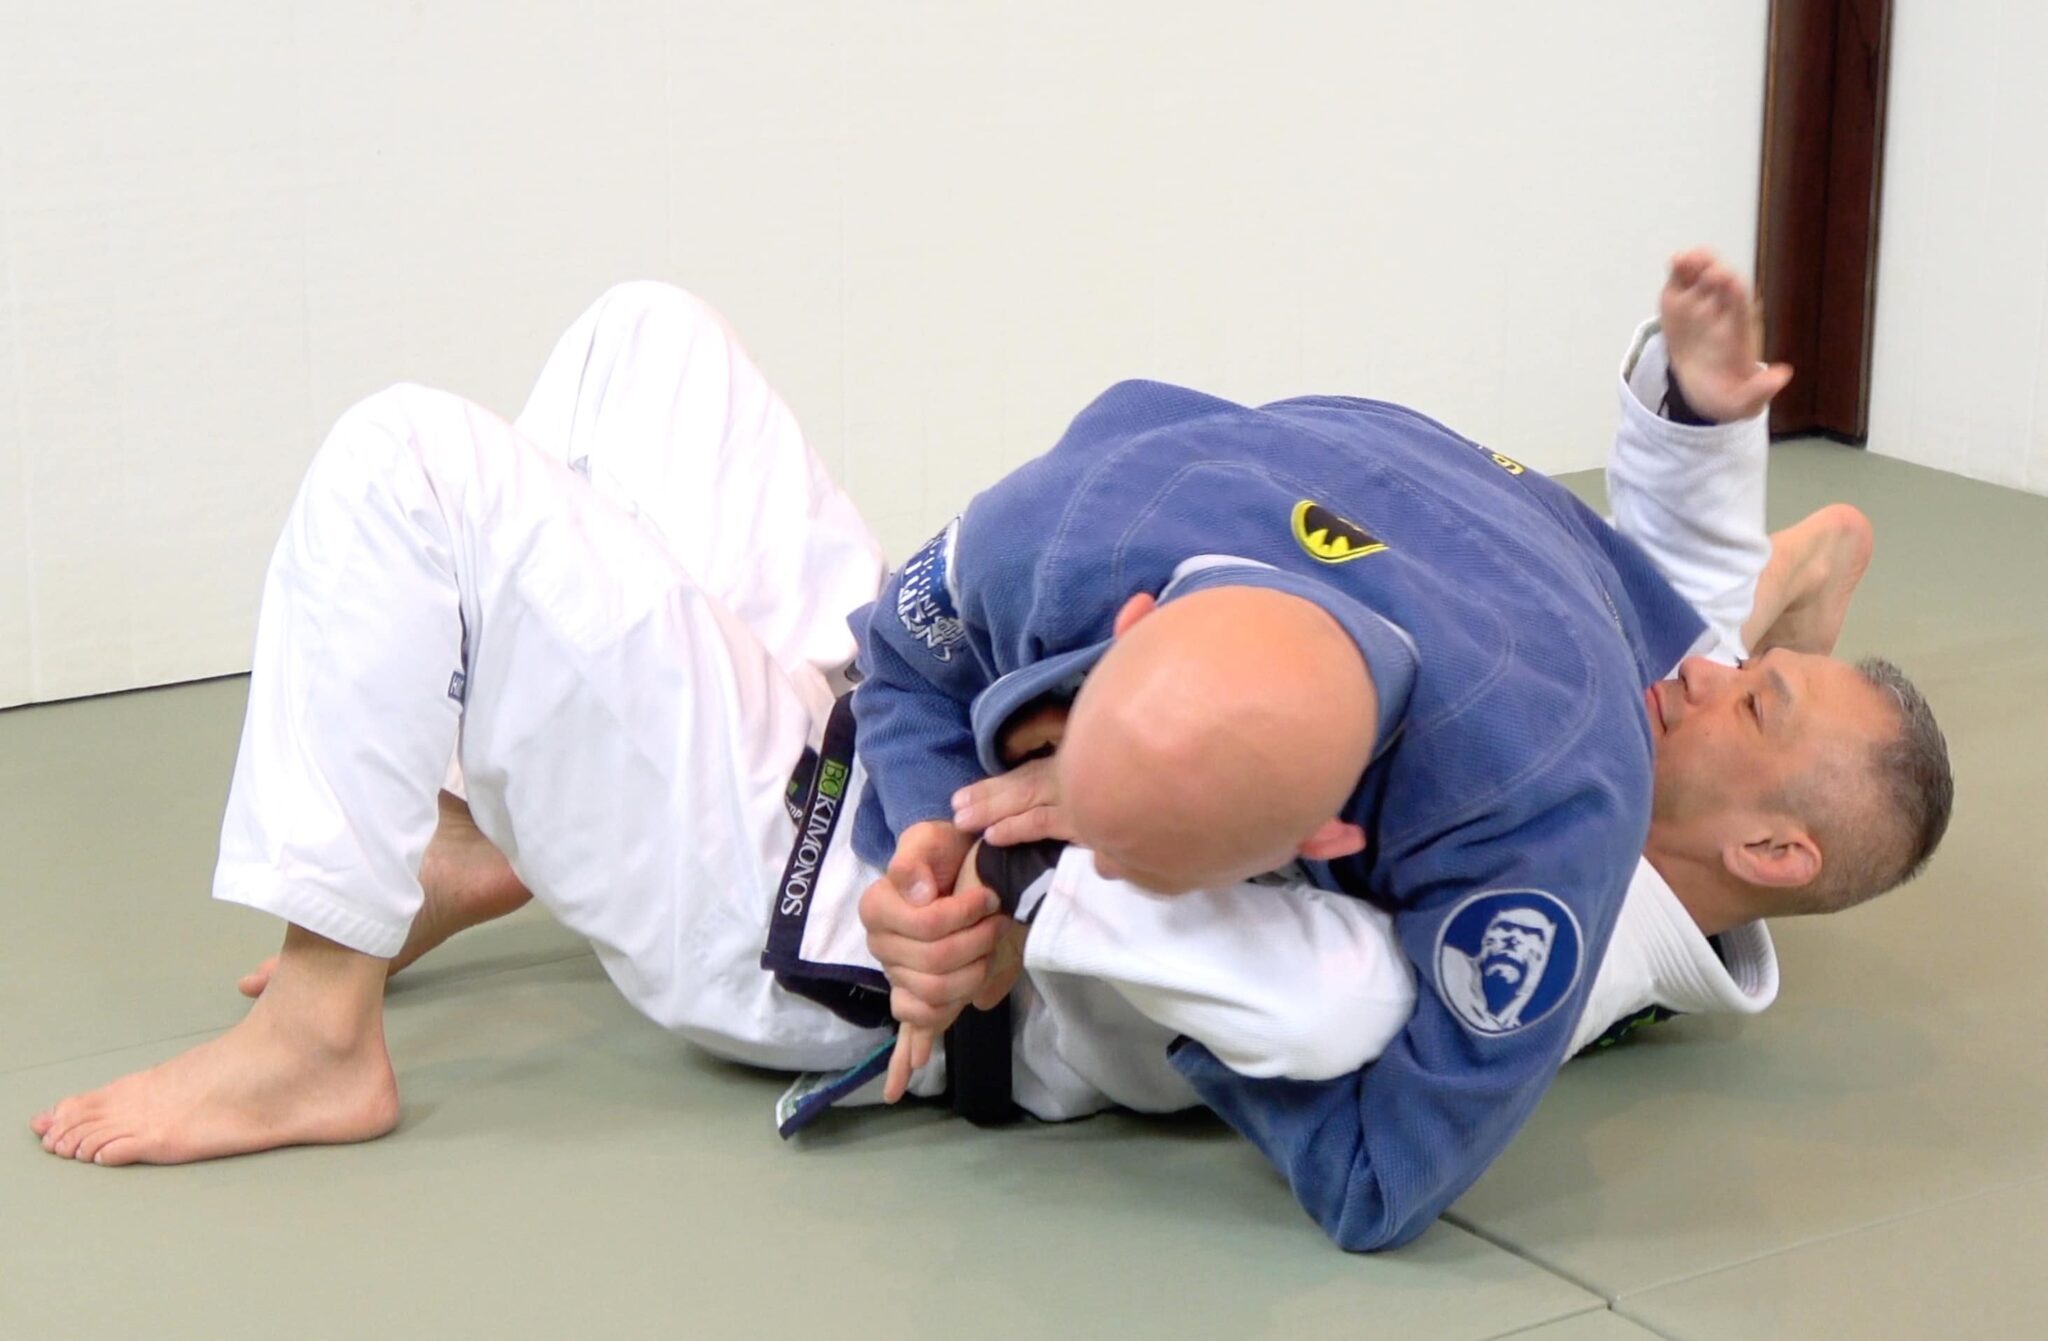
For some reasons wristlocks in BJJ just don’t get no respect.
Many grapplers consider it OK to tap out to armlocks, triangle chokes, shoulder locks or lapel chokes, but for some reason wristlocks are considered super cheesy. However the wrist is just as legitimate a joint to attack as the elbow, shoulder or knee.
In fact there’s a meme going around the online BJJ community right now. I don’t know who started it but it’s brilliant: “Wristlocks – Why would you ignore 0.5% of the human body?”

Now many traditional martial artists are familiar with wristlocks in the context of Aikido, Hapkido and Aiki-Jitsu techniques. Typically these locks – with names like Nikyo, Sankyo, Kote-hineri, and Kote-gaeshi – are practised in standing positions against a complaint training partners again and again.
But as many Aikido practitioners have discovered, things get much trickier when you start training with resistance. As soon as the other guy starts fighting back it becomes a LOT harder to apply those standing wristlocks unless you’ve got a gigantic size and strength advantage.
So Brazilian jiu-jitsu players often discount these attacks as theoretical techniques from traditional martial arts that don’t really work with real pressure.
But that’s a mistake. Many of those traditional wristlocks can be very effective, but they have to be applied a little bit differently.
I’m going to show you many examples of how these submissions can be applied ‘for real.
But first, before we go any further, we need to have one thing crystal clear…
Wrist locks Can Be Bloody Dangerous!
The wrist is a small, complicated joint.
Unlike your elbow which just hinges the upper arm and the forearm, your wrist is a complicated mess of bones, ligaments and cartilage that flex, articulate and bend in many different directions.
If your wrist gets cranked it can take months, or even years to heal properly. Even worse, breaks in the bones of the wrist often go undiagnosed. Your average emergency room doctor really doesn’t have the skills to look at a wrist X ray and figure out what’s going on.
So if you jack your wrist you’re looking at visits to specialists and extensive rehab.
This additional susceptibility to injury makes wristlocks the heel hooks of the upper body. These are powerful submissions that need to be applied slowly and with care.
Always respect the wristlock. Apply them slowly and with total control, because you don’t want to damage your training partners – you can’t get better without them!
And if you’re on the receiving end of one then tap early and tap often. Don’t stubbornly refuse to tap because the pain (and the damage) comes on very quickly.
Just tap out and live to fight another day!
Now, on to some actual examples of wrist locks that work on the ground…
5 Different Wristlocks Caught in Real Sparring
In the video above I go through the last 5 wristlocks that I caught in sparring.
I shot the video after I went on a bit of a wristlock kick during sparring. My goal was to use some form of this submission as often as I could (this is a form of targeted sparring where you limit yourself to just one type of technique so that you can really refine your entries and finishes to that technique) .
There were several themes in this rolling session…
All 5 of these submissions were forward compressive wrist locks as opposed to twisting or backwards compressive wristlocks. While there are other types of wrist attacks that do work on the ground (see some of the resources linked to below), I do believe that compressive locks are the ones you catch most often on the ground against a resisting opponent.
Another theme was that I always first isolated the forearm of my opponent and only attacked the wrist once it was mostly immobilised and cut off from help.
This method of application is quite in contrast to how many traditional standing wrist locks are applied, but if you try to submit the wrist without first isolating it from the rest of the body then it allows more wiggle room and gives your opponent the opportunity to use his other limbs to strip your grip.
So go forth and practise your wristlocks if they’re allowed in your club, just remember how quickly they can damage your training partner’s wrist so apply them SLOWLY!
More Resources and Wristlocks
In the video above I refer to a bunch of other videos and articles that give you some context for the techniques I used. Links to those other resources include…
- My New Favorite Triangle Choke Setup – I used this to set up wrist locks 1 and 2 in the video above
- 5 Types of Triangle Chokes You Should Know – We use method 1 and 3 in the wrist lock attacks video, but you could really apply a wrist lock from any of those triangles!
- 3 Ways to Actually Finish the Omoplata Armlock – Once you have someone broken down in the omoplata it’s easy to finish them, including with the wristlock)
- A Super Cool Detail For Finishing the Straight Armlock from Half Guard Top – Since I learned this detail my finishing percentage for this attack has gone through the roof
- An Easy Wristlock from Closed Guard – This technique locks the wrist in the opposite direction from the attacks I showed in the video, but it’s still very effective
- My Favorite Cheesiest Submission in BJJ – This is the only way I’ve found so far to successfully apply ‘Sankyo’, the classic Aikido wristlock, against a reasonably skilled resisting opponent on the ground. If I find a second method I’ll be sure to let my readers know!
P.S. Have you grabbed my brand new Grapplearts BJJ Master App for iPhone and Android with More than 457 Minutes of totally free content yet?
We’re working on it like crazy so that it keeps on getting better and better. Even though it’s free I want it to be the absolutely best BJJ app out there on the market!
Click here for more info about the Free Grapplearts BJJ Master App!


