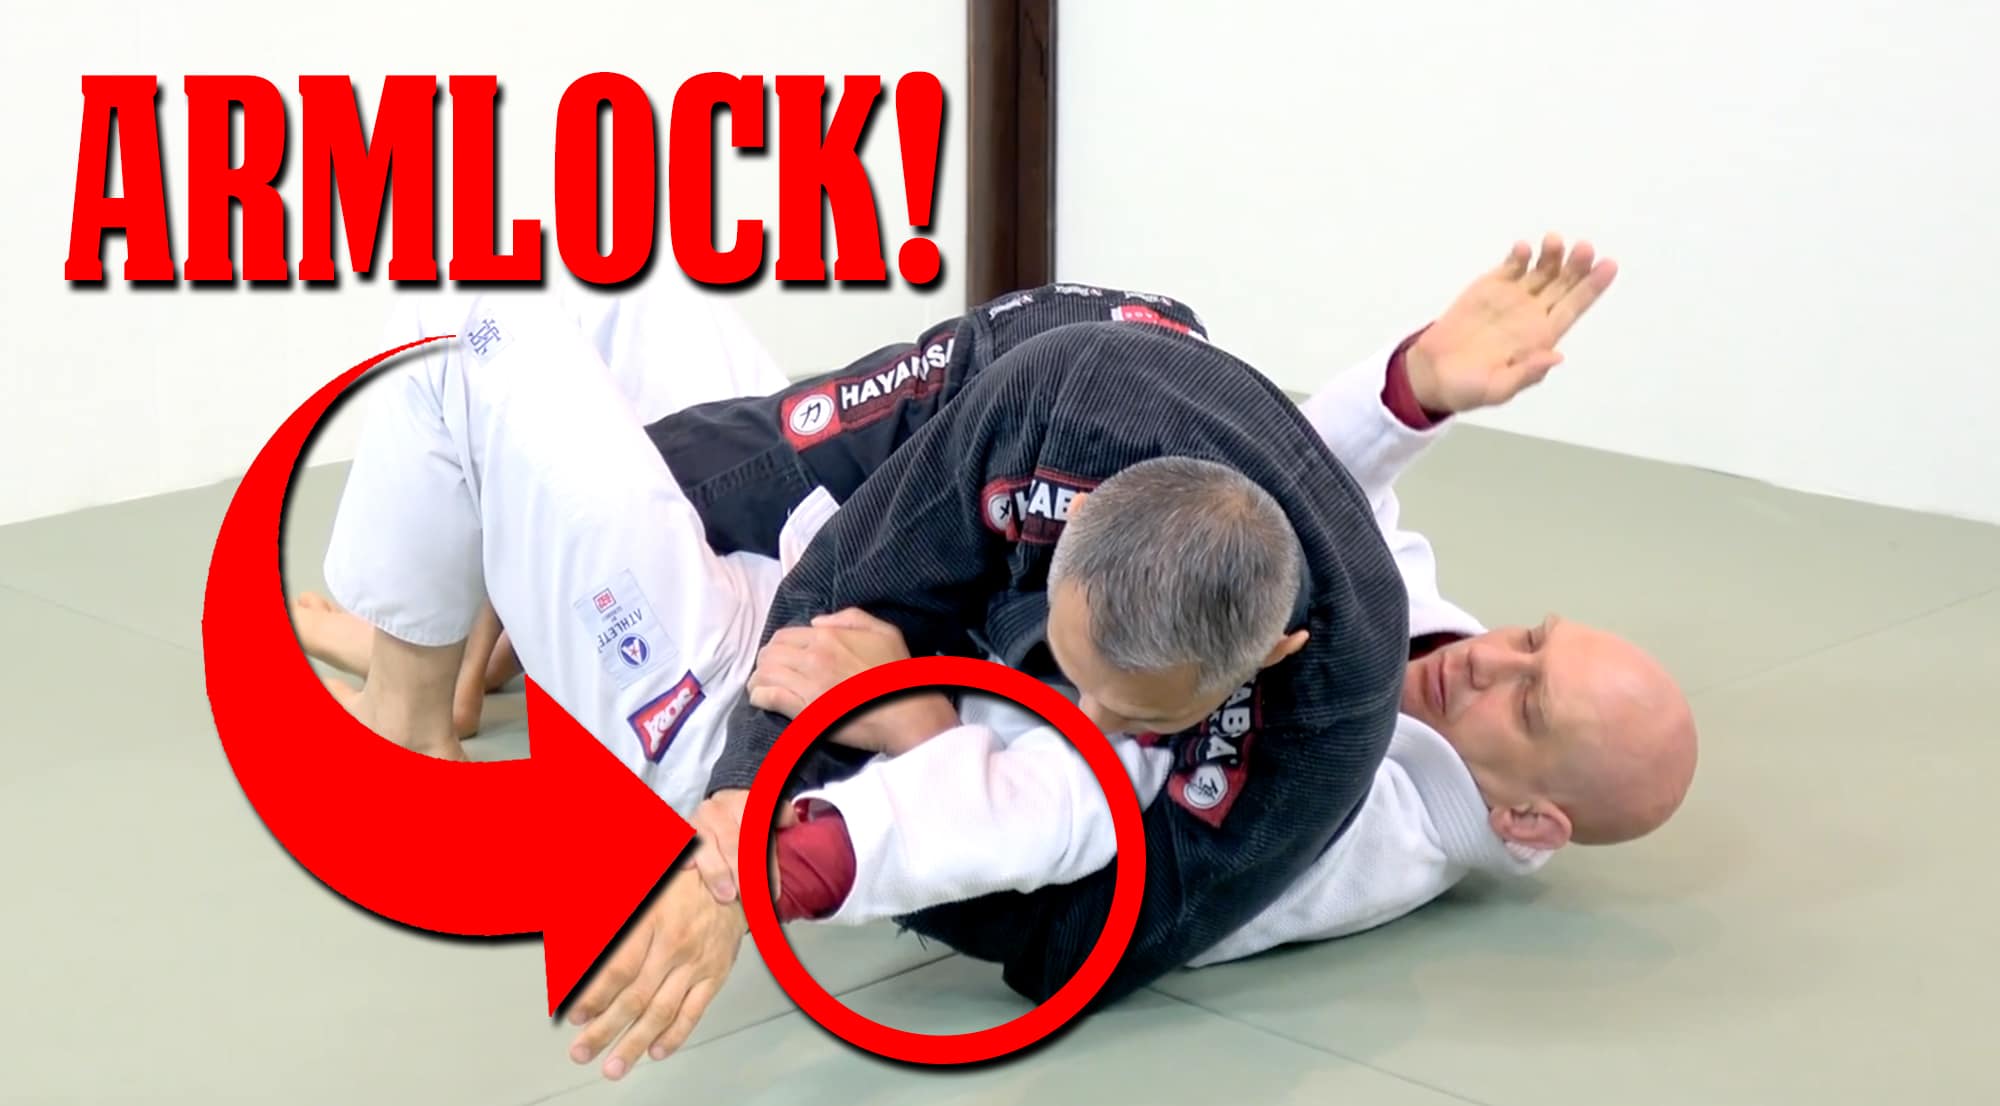
The straight arm figure 4 was one of the very first armlocks I was ever shown on the ground.
But it was super unreliable. In fact, for the next 3 decades, I would only be able to get it to work occasionally and then only against inferior or very tired opponents.
Most of the time my sparring partners would simply twist or muscle their way out of it, or – most discouraging of all – just ignore the attack if they had a relatively flexible arm.
But then my friend and training partner Ritchie Yip showed me a few details on how to set it up and make it way more effective, and since then I’ve been catching it with some regularity.
Here’s the video of him teaching me the details that make the figure four armlock a legitimate threat on the mat!
The details Ritchie shows in this video include
- Using the half guard pass as a trap to set up the figure 4 straight armlock
- Pinching your opponent’s upper arm HARD with your own arm (almost like you’re trying to choke it with the RNC)
- And elevating the fulcrum over which you’re stressing his elbow by having only the tip of your elbow on the ground and not your whole forearm.
 This final point – having only the tip of the elbow on the mat – is the detail that completely changed this armlock for me.
Because his arm is now so much higher off the mat it takes much less pressure and arm strength to finish the submission
This critical detail was featured in my personal Instagram feed, and judging from the response seems to have helped a fair number of other people as well!
So check out the graphic below and see if it makes sense to you…
Good luck with this technique – I hope it gives you the keys to yet another reliable submission you can use on the mat.
If you haven’t yet followed me on Instagram, well then, go here to check out my IG profile!
And if you live in Vancouver, BC then check out Ritchie’s school at Infighting.ca


