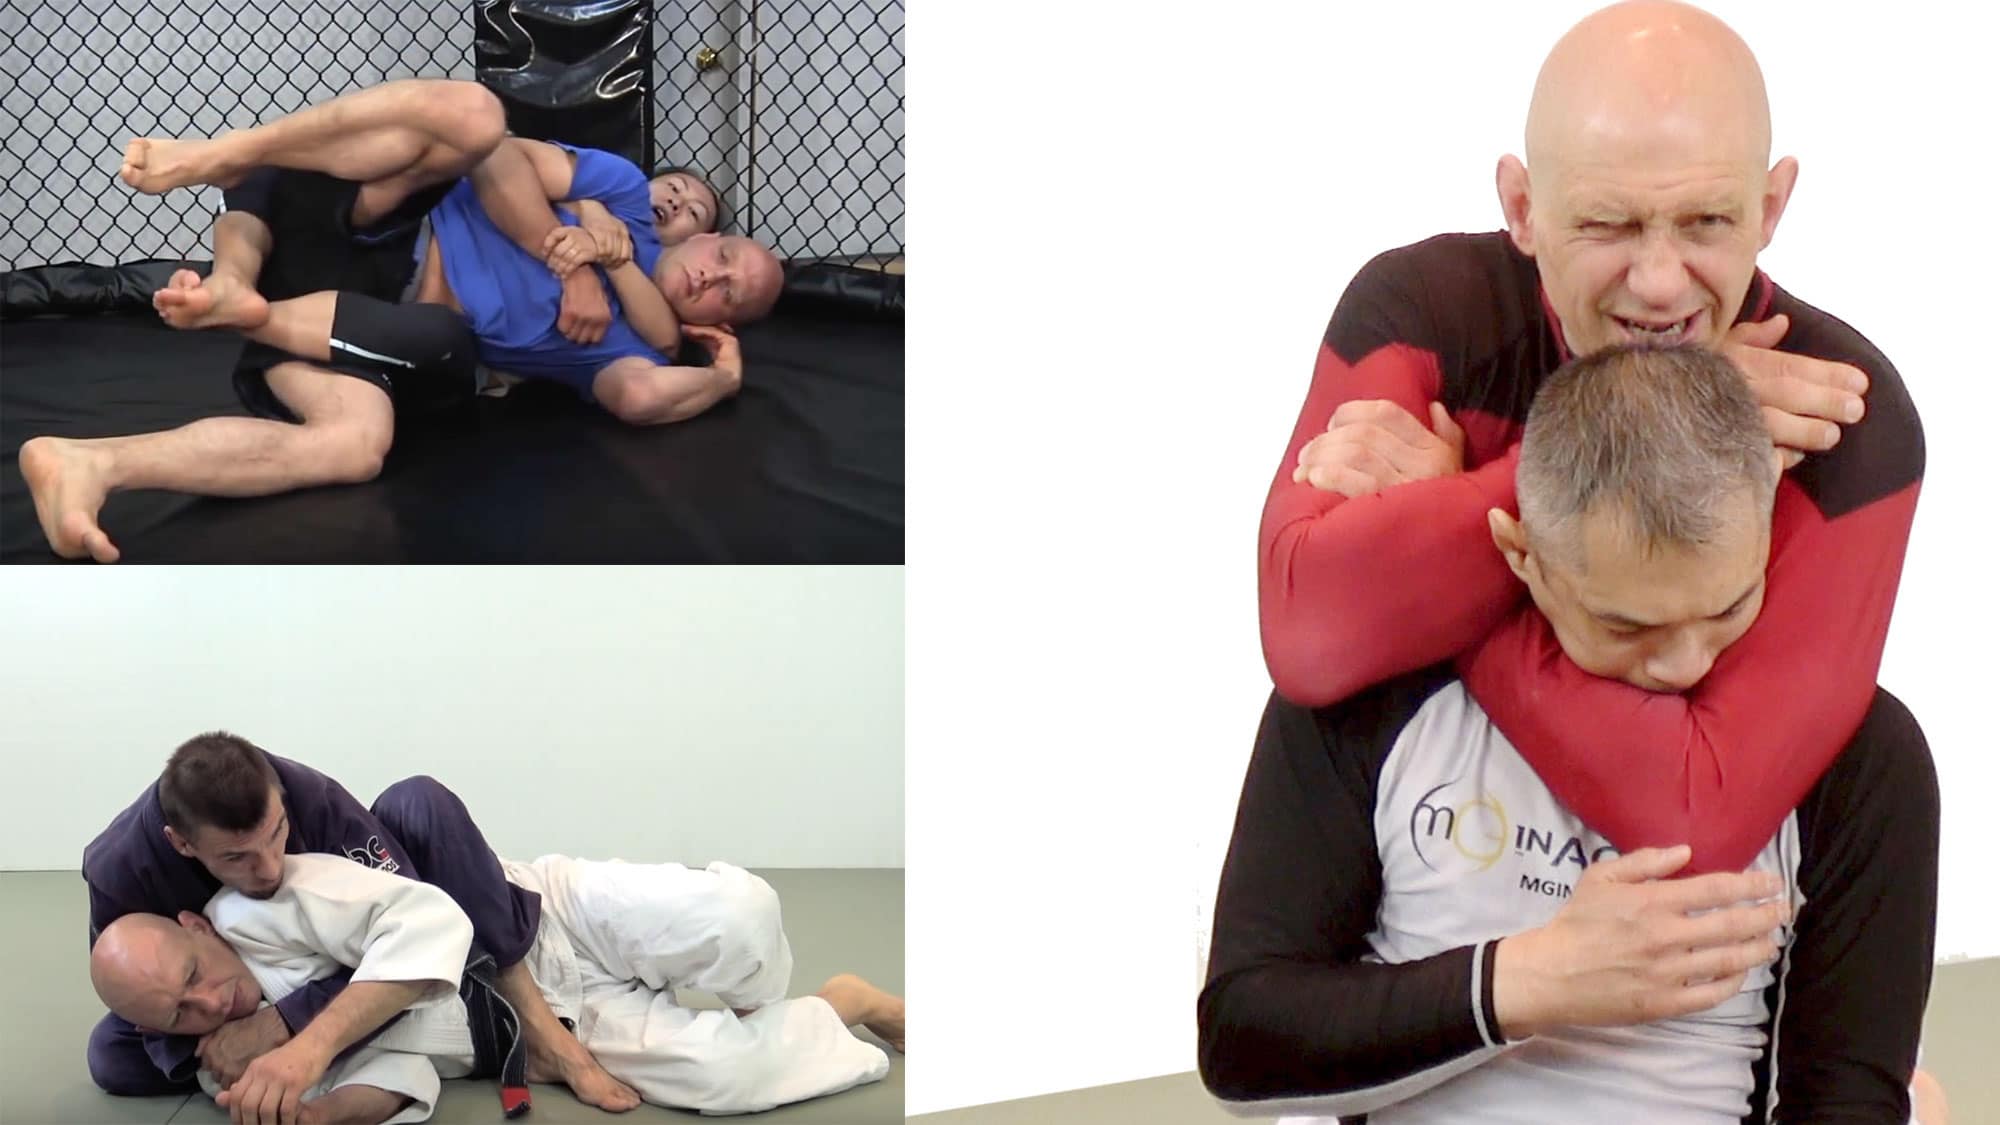
This article is about the details you’ll need to finish the Rear Naked Choke against quality opponents. This submission, also called the RNC or the Lion Killer, is one of the most dominant, powerful and important chokes in BJJ, MMA and No Gi Grappling.
If you get on your opponent’s back, especially in a no gi situation, the Rear Naked Choke should be your number one finisher.
However your opponent knows it’s coming, and so he’s not going to make life easy for you. In fact he’s going to do everything he can to put roadblocks in your way and thwart your attempts to choke him silly.
Fortunately there are technical solutions to most problems in jiu-jitsu, and the rest of this article is all about achieving and finishing the RNC in a variety of situations.
When it comes to successful attacks with the Rear Naked Choke there are 3 broad skill sets in which you need to have some competence. These areas include:
- Taking the back
- Maintaining the back
- Progressing your grips and defeating his defenses
- Finishing the RNC
Let’s take a look at these areas one at a time, but keep in mind that they overlap. For example you might be combine taking the back with progressing your grips (areas 1 and 3), or simultaneously maintain your position and finish the choke (areas 2 and 4). However for simplicity’s sake we’ll mostly look at them separately…
RNC Skill Set 1: Taking the Back
Most of the time you’re going to apply the Rear Naked Choke from the rear mount. Yes, you can apply it against a standing or sitting opponent without the hooks being in, but if you look at it statistically then 99% of the successful finishes happen from the rear mount.
That’s why learning to consistently take the back is the first step of improving your Rear Naked Choke finishing percentage.
Rob Biernacki and I did an entire instructional (The BJJ Back Attacks Formula) on the back position covering lots of ways to take the back, but here are are the two methods you should start with: the ‘Chair Sit’ and the ‘Low Hook’.
If you’re serious about choking out more people on the mats then you should definitely learn, drill, and incorporate both of these moves.
In the Chair Sit you get behind your opponent, sternum to spine, secure your harness grip (more about that later), step over your opponent, and then sit back while inserting your second hook.
The video below breaks the Chair Site down for you very well…
The second method of taking the back is the Low Hook. You see this all the time in high level competition when one person turns away from another to avoid getting pinned: BOOM – the top person shoots in the bottom hook and the bottom person is in a world of trouble.
When people do this move wrong it requires unearthly flexibility, but it’s actually well within the grasp of the average practitioner. It’s all about knowing how your opponent is going to move, slowing him down, and timing the insertion of your hook.
Check out the breakdown of the low hook below…
There are, of course, many other ways to take the back, but these are the two best methods to start with. They’re high percentage moves that will work against everyone from white belts to black belts, so they’re a great starting point for your back attack arsenal.
RNC Skill Set 2: Maintaining the Back
So let’s assume you’ve taken your opponent’s back.
When you’re in the rear mount there are two things keeping you on your opponent’s back: 1) your arms and 2) your legs. That means to have the most effective rear mount possible you need to make sure that you’re doing things correctly with both your upper and your lower body.
Most high level players will use the harness grip (aka the ‘over-under’ or the ‘seatbelt’) to latch themselves to their opponents.
In the harness you’ll bring one arm under your opponent’s armpit and the other over his opposite shoulder. Then you latch your hands together, either palm to palm or – as I prefer – with the bottom hand grasping the top wrist.
Below is a short video in which I talk about the harness position and the most common mistake people make in this position in the heat of the moment…
Your legwork is also super important.
When you’re doing the rear mount properly you’ll use a dual leg action to keep things super tight: 1) your knees will pinch together, and 2) your heels will pull towards your butt (click here for one of my other articles with a more fully fleshed out description of this dual action).
In addition the legs are involved in preventing your opponent from getting to his favoured side for escaping. You want to keep him on the side that you’re best at and he’s worst at escaping.
In the video below Emily Kwok shows how to keep your opponent on your strong side using the action of your legs…
Alright, enough with the rear mount already! Let’s move on to choking some people out!!
RNC Skill Set 3: Progressing Your Grips and Defeating His Defenses
If you’ve taken your opponent’s back you’ll probably have the harness grip that we discussed earlier. That means that one of your arms – your ‘over’ arm – is actually quite close to his neck.
If your opponent is a total newbie or completely exhausted then maybe he’ll just let you sink the RNC from the harness grip. But let’s not build our jiu-jitsu around techniques that work on white belts; instead let’s learn progressions that will serve you well your entire jiu-jitsu journey!
From the over-under I generally teach a 6 step progression to go from the harness to the full Rear Naked Choke. In this method you never compromise your arm structure, staying positions where it’s tough for him to use muscle to escape.
These 6 steps start in the over-under or harness position
- The ‘tiger claw’ – your top hand anchors on his far scapula
- Your bottom arm pulls out and you secure a palm to palm clamp
- Tightening adjustments, including the ‘side punch’, ‘the creep’, Your top hand re-anchors on the far side scapula
- Tiger claw, palm strike and reclamp to remove his grips
- Spearhead your non-choking hand behind his head.
- The ‘3D squeeze’ to finish the choke
That’s a lot of steps, and sometimes you can skip one or two depending on the situation, but against a good opponent you’ll often use every one of them.
Here’s an old video I did called ‘A Rear Naked Choke Tutorial’ but it’s still as valid today as the day it was filmed. This information and these steps have helped me so many times it’s not even funny, so I encourage you to watch and train the whole thing!
Now the video above talked a lot about fighting your opponent’s arms using your own hands and grips. Which is an excellent strategy, but what if you could gang up on his arms using another, stronger limb?
That’s exactly what we’re going to do next: if you’re facing a really skilled, strong, or determined opponent then your best option is to take out at least one of his arms using your legs. Once one of his arms is out of commission then you can gang up on his remaining arm with two of yours, which is a battle heavily tilted in your favour!
In the two videos below Rob Biernacki and I talk about different ways to trap an arm which, given the opportunity, you should definitely exploit!
Once you’ve made your way past his grips your opponent’s last remaining major defense is dropping his chin to his chest and keeping it glued there for dear life. And this ‘chin down’ defense can be quite problematic, at least until you learn how to counter it, at which point it becomes almost no barrier at all.
In the video and below I show you 5 of my favourite ways to finish the RNC against a dropped chin – check them out!
Basically the video above covers 5 different ways you can get your forearm into a Rear Naked Choke position against an opponent who is defending by keeping his chin glued to his chest.

The first method is to dig underneath his jaw with your index knuckle..

The second method uses the ‘caterpillar’ action of your hand to slightly lift his jaw and then shoot your hand in deeper. Repeat as needed, creeping ever deeper into position with each iteration…
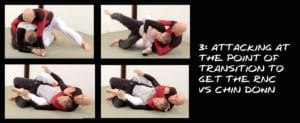
The third method uses distraction. By attacking with the RNC in the transition of taking his back, at the exact moment that you’re inserting a hook, his attention is split. He’ll be focusing on preventing the hook and allow you access to his neck. Or, vice versa, he’ll be so focussed on protecting his neck that you’ll have a very easy time putting in your hooks. Either way you’ll win!
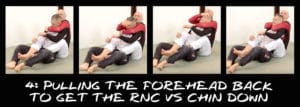
The fourth method to get the Rear Naked Choke against a dropped chin is very simple: simply reach up and pull his forehead backwards with either your hand, your forearm, or the inside crook of your elbow. This motion turns his head into a lever that you use against him to expose his neck.
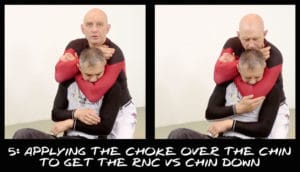
The fifth method that I showed in that video to get the Rear Naked Choke against a dropped chin is very effective but somewhat brutal: simply apply the choke over top of his jaw. It’s a little slower, you have to squeeze a little harder, but eventually he’ll tap out, either from the pain or from his jaw slowly getting pushed into his trachea.
Note: please DON’T do the jaw crush method on beginners, people smaller than you, recent dental patients, or if it’s considered a dick move etiquette-wise at your club. I normally just save this finish for when I’m training with serious competitors who are likely to face this style of RNC finish in competition, and therefore proof that the chin down defense isn’t sufficient will be a valuable reality check for them.
RNC Skill Set 4: Finishing the Rear Naked Choke
Once you’ve got the Rear Naked Choke in position it’s nap or tap time!
To apply the choke you’re going to squeeze his neck, but of course things aren’t always so simple.
There are different ways apply or increase the pressure around his neck, including,
- Bringing your elbows closer together in a scissoring motion
- Creeping your spearhand higher up your own arm and shoulder (thus decreasing the space between your elbows)
- Stretching out his body with your legs (a ‘hangman’ effect)
- Inhaling deeply to expand your chest (a relatively lower percentage adjustment)
- Putting pressure on the back of his head by crunching forward using your forearm, head and shoulder
- Several of the methods above acting in concert together.
When using this choke I often think about the angles at which I am applying pressure. Keeping these angles in mind has made my rear naked choke much more powerful:
- First squeeze DOWN (ie bring your arms down towards your belly button a bit)
- Then squeeze IN (i.e. bring your arms towards his spine)
- Then squeeze UP (towards the top of his head).
This 3 part sequence helps gets your forearm and wrist under his chin and helps you dig deep into his neck. My visual picture is popping the head off of a daisy…
To end this section about finishing the Rear Naked Choke let me point you towards a video about general choke mechanics video below.
The general idea for almost any choke is to form a triangle around your opponent’s neck, blocking off both arteries and placing a backstop across the rear of your opponent’s neck). These same mechanics apply regardless of whether you’re doing a rear naked choke, a bow and arrow choke, or a triangle choke.
If you want to improve your choke finishing percentages I think you’ll find it very useful!
What’s Next?
If you found this article useful then you might find future articles useful as well, right?
But let’s be honest for a second: what are the odds of returning to some random site on the internet at regular intervals to see if there’s something new there? Not very high, right?
Fortunately there’s a great way to not miss out on future content, and that’s by signing up for my free BJJ email newsletter.
My newsletter has thousands of subscribers and gives out a TON of content.
And the best part is that if you ever don’t like what you’re getting then you can unsubscribe very easily by following the link at the bottom of every single email you’ll ever get from me (in fact I encourage this: I don’t want to send emails to people who don’t want to get them!).
To sign up, get my best BJJ tips by email, and download A Roadmap for BJJ, just enter your email address in the box below and hit ‘send me the free book’. I think you’ll like what you get!
Stephan Kesting
